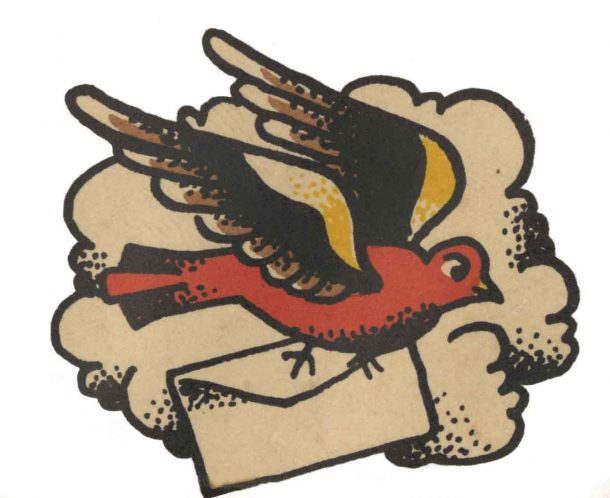
Vintage tattoo flash
How to do Hand Tattooing
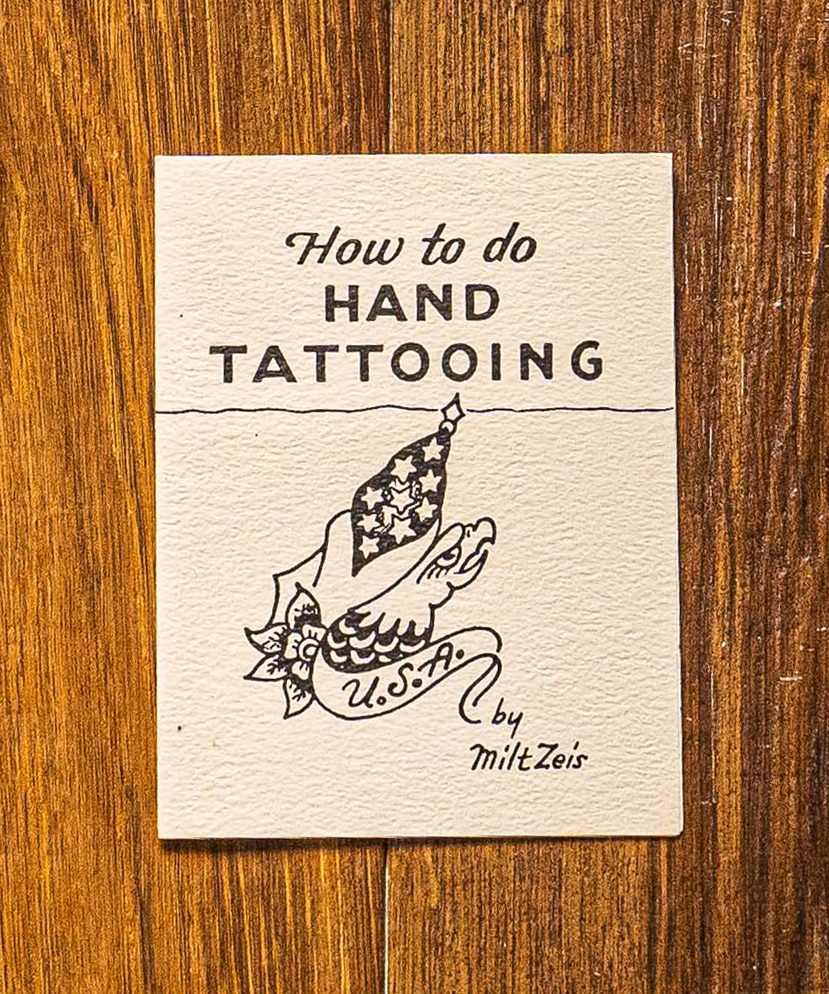
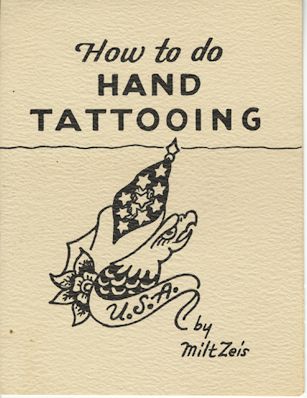
Front of “How to do Hand Tattooing by Milt Zeis” booklet.
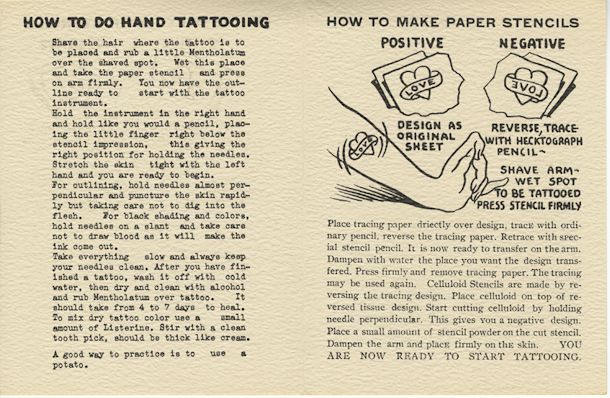
Inside of “How to do Hand Tattooing by Milt Zeis” booklet. See below for contents.
Back of booklet. “From The Zeis Studio, 728 Lesley Ave. Rockford, Illinois. Headquarters for Artistic Tattoo Designs”
Description
This little informational booklet teaches us how to do hand tattooing. It’s folded into a booklet shape.
Artist: Milton Zeis
Date: Unknown
Dimensions: 8.5″x11″ piece of paper folded to be a 4.25″x5.5″; vertical, retangle.
*If you know more information regarding this please leave a comment below
How to do Hand Tattooing
*Please note: This may be an outdated way of performing hand tattooing and is only being shared as an antique tattooing artifact.
Shave the hair where the tattoo is to be placed and rub a little Mentholatum over the shaved spot. Wet this place and take the paper stencil and press on arm firmly. You now have the outline ready to start with the tattoo instrument.
Hold the instrument in the right hand and hold like you would a pencil, placing the little finger right below the stencil impression, this giving the right position for holding the needles. Stretch the skin tight with the left hand and you are ready to begin.
For outlining, hold needles almost perpendicular and puncture the skin rapidly but taking care not to dig into the flesh. For black shading and colors, hold needles on a slant and take care not to draw blood as it will make the ink come out.
Take everything slow and always keep your needles clean. After you have finished a tattoo, wash it off with cold water, then dry and clean with alcohol and rub Mentholatum over tattoo. It should take from 4 to 7 days to heal. To mix dry tattoo color use a small amount of Listerine. Stir with a clean tooth pick, should be thick like cream.
A good way to practice is to use a potato.

How to Make Paper Stencils
Positive – Design as Original Sheet
Negative – Reverse, Trace with Hecktograph Pencil – Shave arm – wet spot to be tattooed press stencil firmly
Place tracing paper directly over design, trace with ordinary pencil, reverse with tracing paper. Retrace with special stencil pencil. It is now ready to transfer on the arm. Dampen with water the place you want the design transferred. Press firmly and remove tracing paper. The tracing may be used again. Celluloid Stencils are made by reversing the tracing design. Place celluloid on top of reversed tissue design. Start cutting celluloid by holding needle perpendicular. This gives you a negative design. Place a small amount of stencil powder on the cut stencil. Dampen the arm and place firmly on the skin. YOU ARE NOW READY TO START TATTOOING.